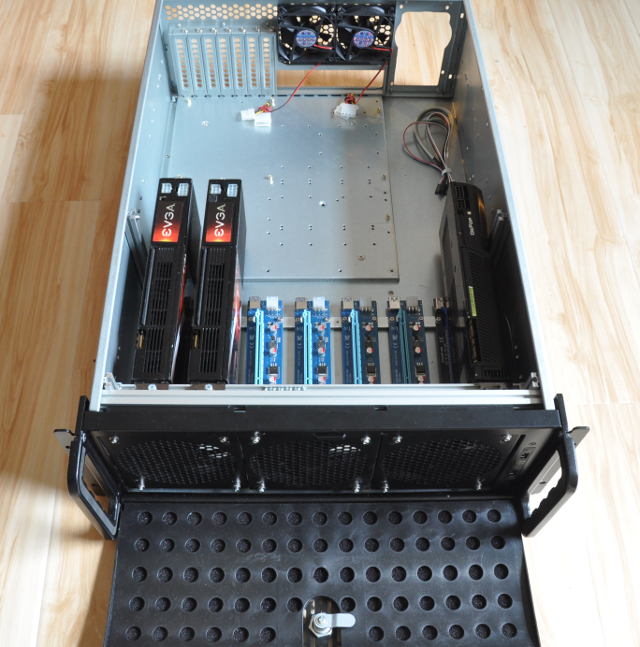
This bracket adds the ability to mount 7-9 (depending on the size of riser cards) GPUs at the front of a Rosewill L4000, L4000B or L4500 server chassis.
Note: Purchaser is responsible for electrically isolating the bottom of the riser cards from the aluminum riser support beams.
See the end of this page for small adjustments to be made when assembling the reversible bracket!
Remove all of the brackets and drive cages from the front of the Rosewill case. (See this video).

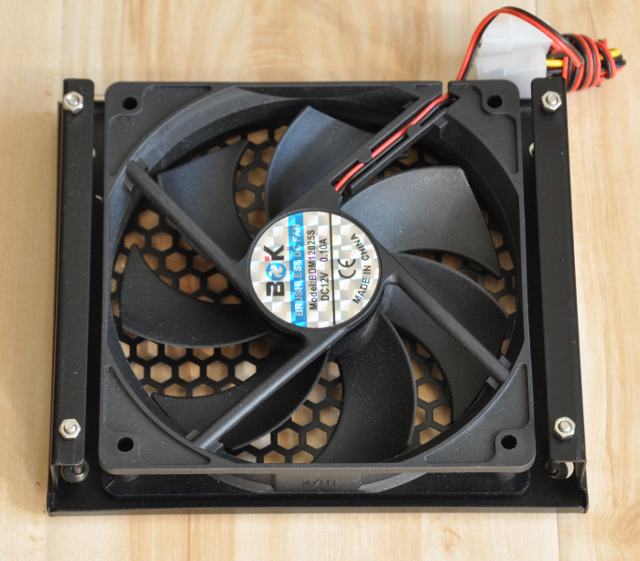
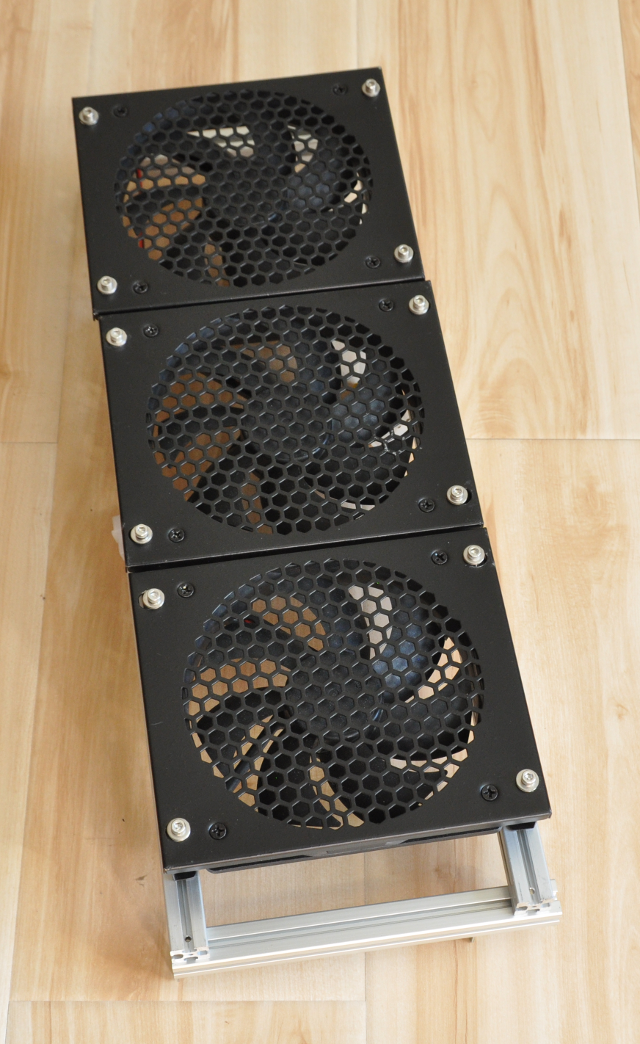
Replace or re-install the case fans so they are oriented to exhaust/push air out of the front of the case.
Insert M3x35mm bolts, two washers and hex nuts through the fan mounting brackets.
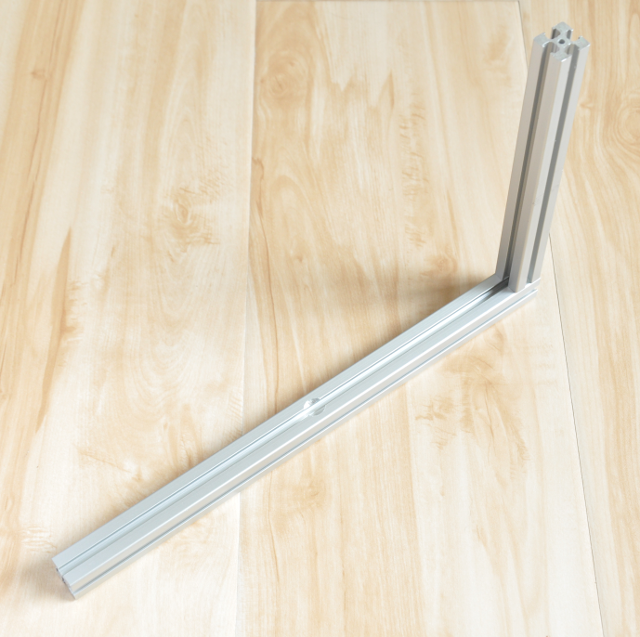
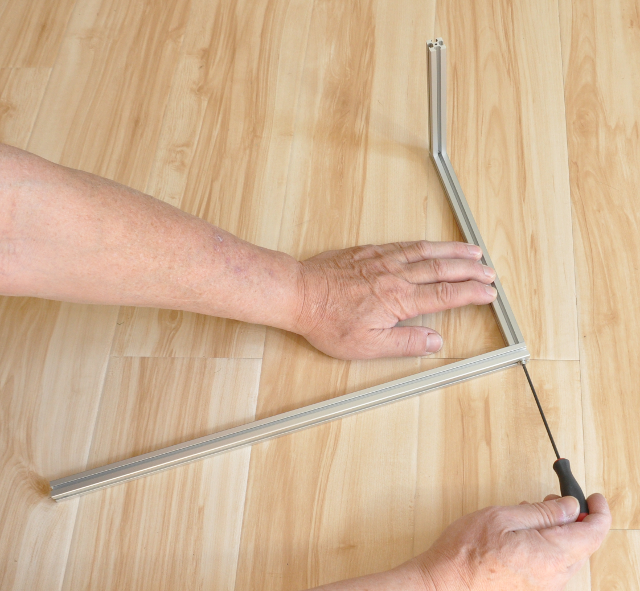
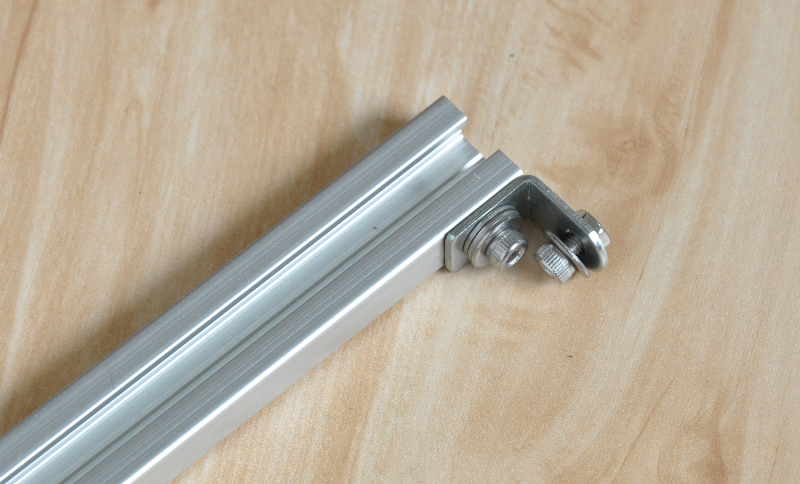
Attach top angle bracket to a fan post via a M3x5mm bolt and hex nut (no washer required). The bolt goes through the round hole in the bracket (and nearest to the hole that is ~12mm from the end/top of the post).
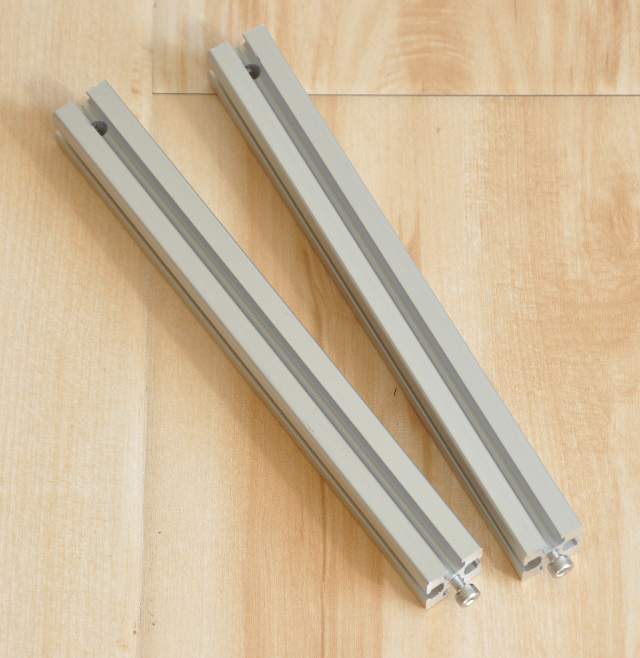
Attach the fan posts to the fan beams using M3x25mm bolts and washers. The bottom 25mm bolt goes through the oblong hole in the bottom angle bracket.

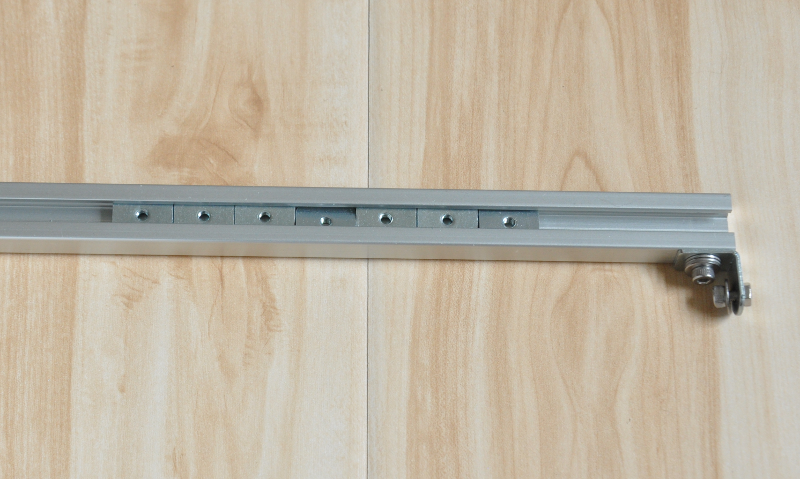
Insert seven M4 hex nuts into the slot of the milled GPU support beam. Fasten the beam to the small angle brackets using M3x14mm bolts (the support beam has a 3mm threaded hole).

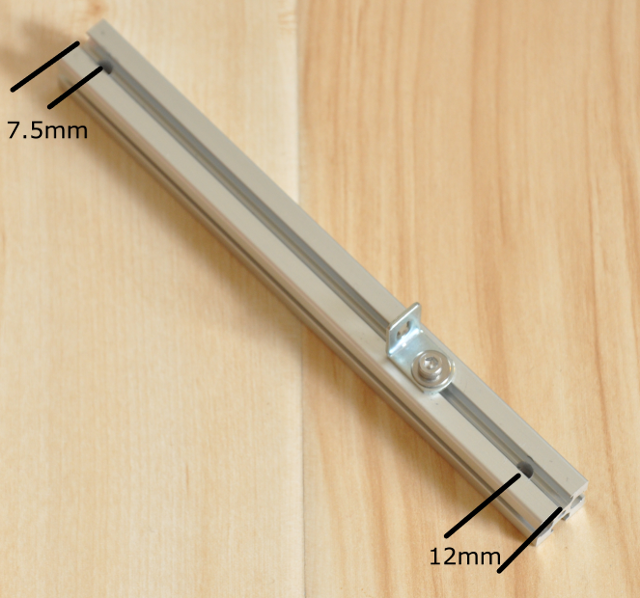
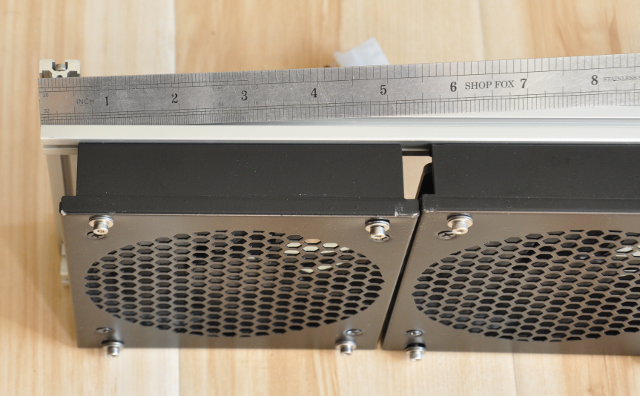
Insert/slide the hex nuts of the fan cage bolts into the front slots of the fan beams. The location of the left-most fan is ~1/2-inch from the end of the beam.
Start M3x8mm bolts at the bottoms of the side posts.
Attach the side posts to the side beams by sliding the head of the bolt into the top slot of the beam and then tighten the bolt by inserting the wrench through the wrench access hole.
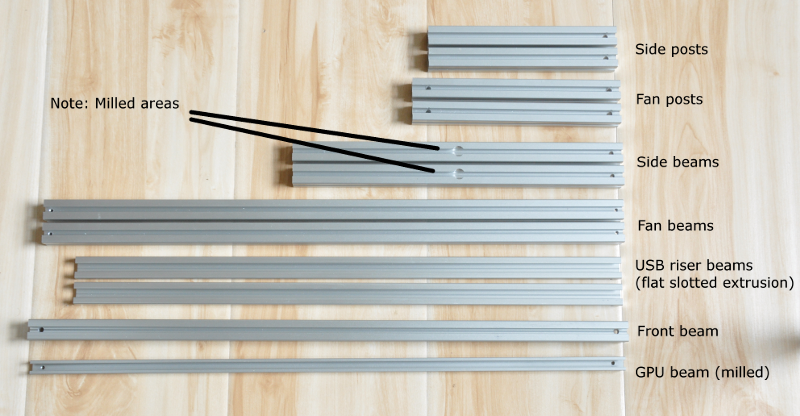
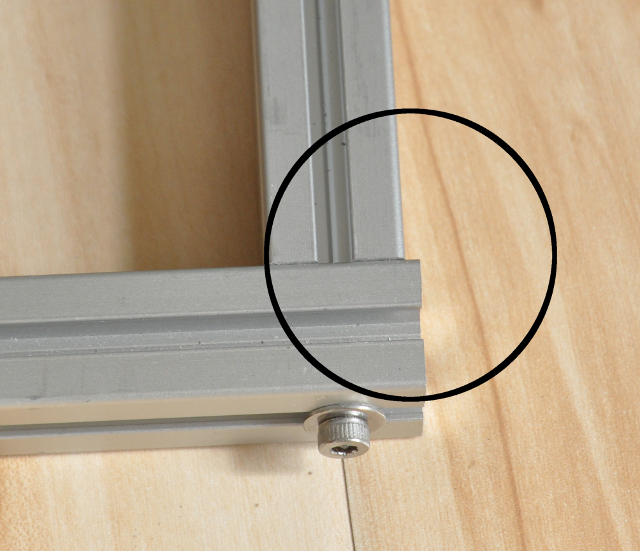
The milled-out area in the beam should be at the top surface:
Attach the front beam to the right-hand side post and beam sub-assembly via a M3x20mm bolt and washer.
The front beam should overhang the side beam by ~1mm.
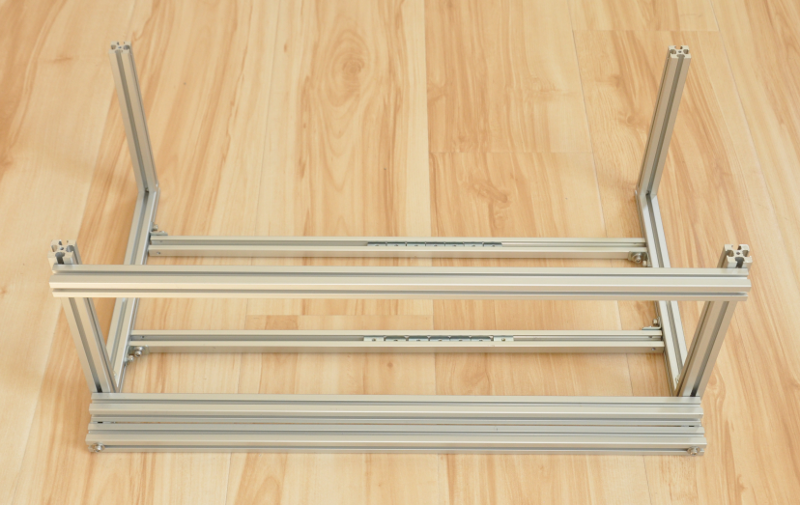
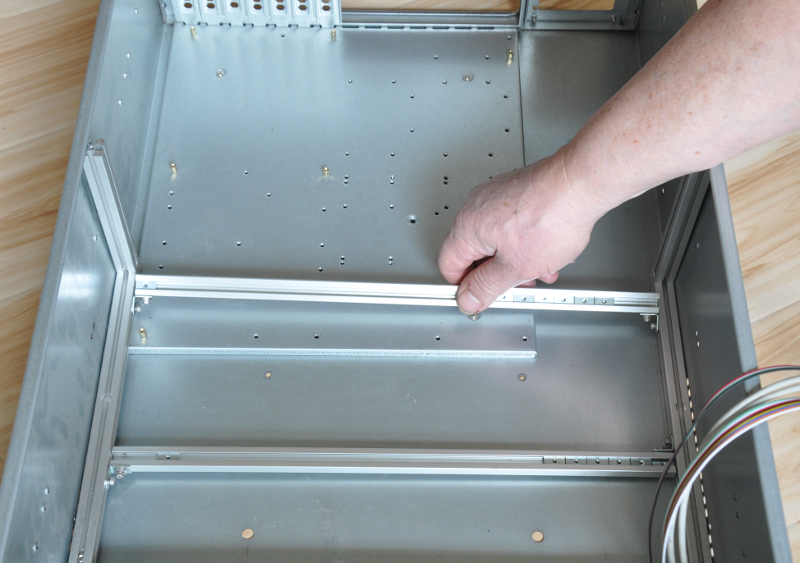
Place the sub-assembly into the case.
Attach the front beam to the left-hand side post and beam sub-assembly via a M3x20mm bolt and washer.
Attach two small 90-degree angle brackets to each end of the riser support beams using M3x5mm bolts and two washers through the oblong hole. Also, start a M3x5mm bolt and hex nut (through the round hole; no washer required).
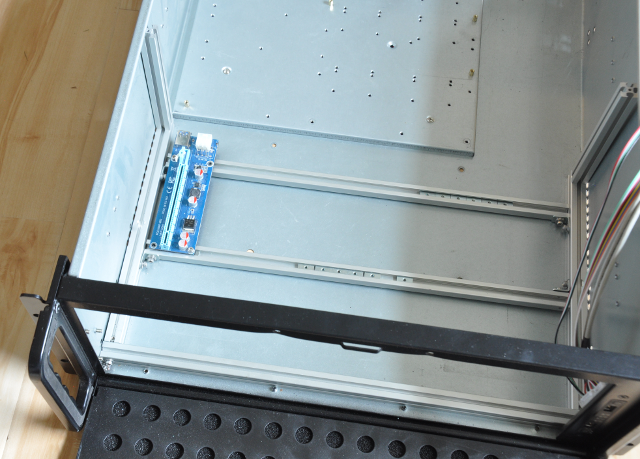
Insert a t-nut for each riser card into both of the riser support beams.
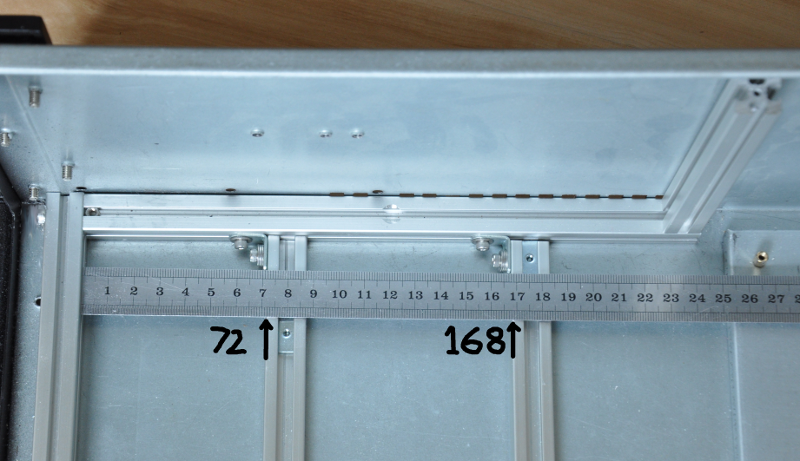
Slide the hex nuts of the two riser supports beams angle brackets into the inside slots of the bottom support beams.
Push the entire bracket forward into the case.

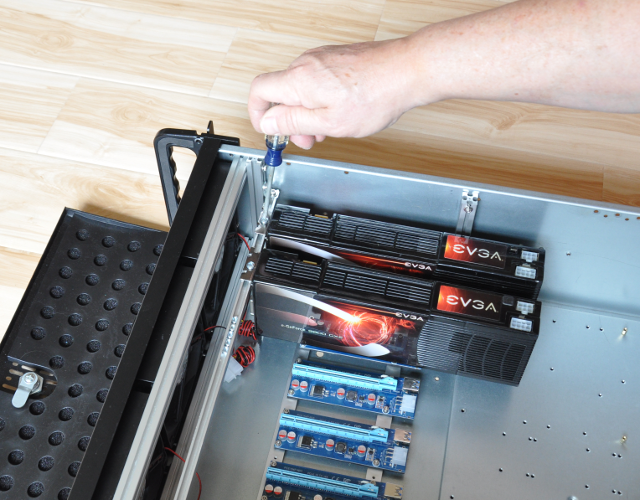
Fasten both side posts to the sides of the case using a flat-head M3x20mm bolt, washer and hex nut (utilizing one of the existing recessed case holes).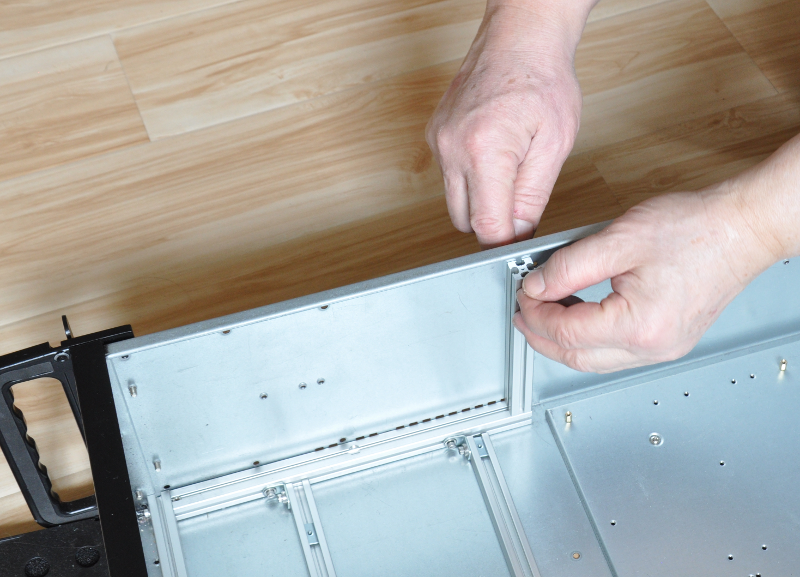
Position and tighten the riser support beams.
Attach the USB risers to the support beams via two M3x10mm bolts at opposite corners.
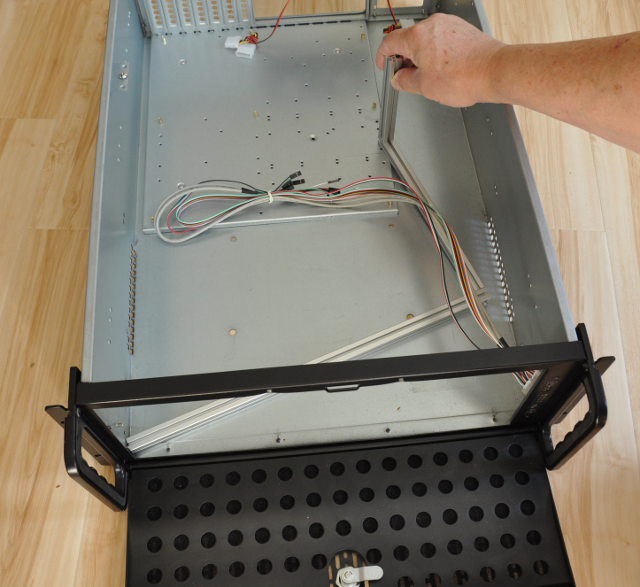
Insert the fan support sub-assembly into the case (routing the wires through the sub-assembly).
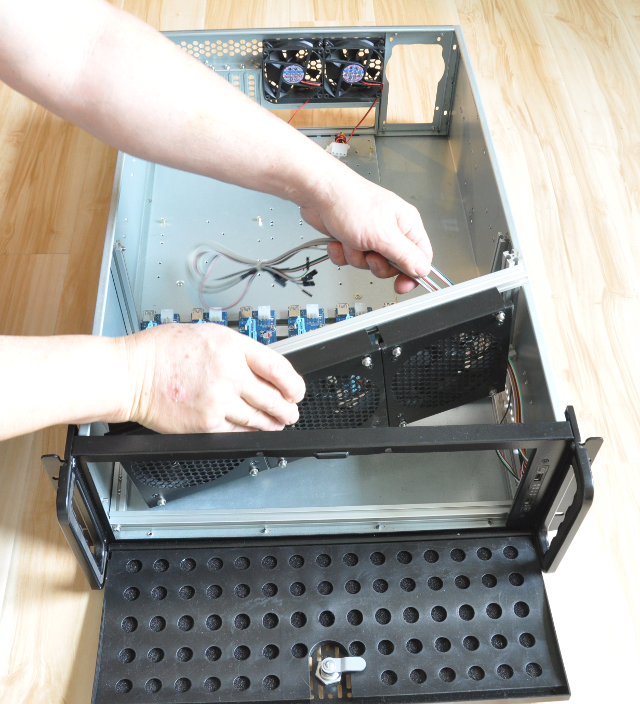
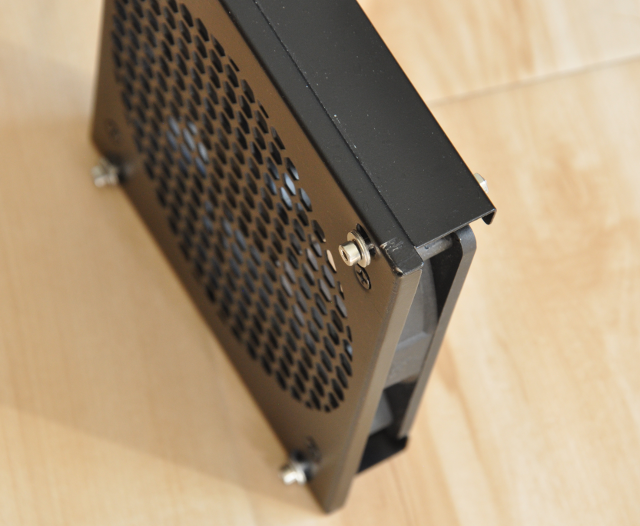
Push the fan sub-assembly forward until the fan brackets are flush with the front of the case (this may require loosening and re-positioning the fan brackets and/or fan beams).
Note: Check to see that the door is able to close properly. If not, inset the fan sub‑assembly a few millimeters into the case.

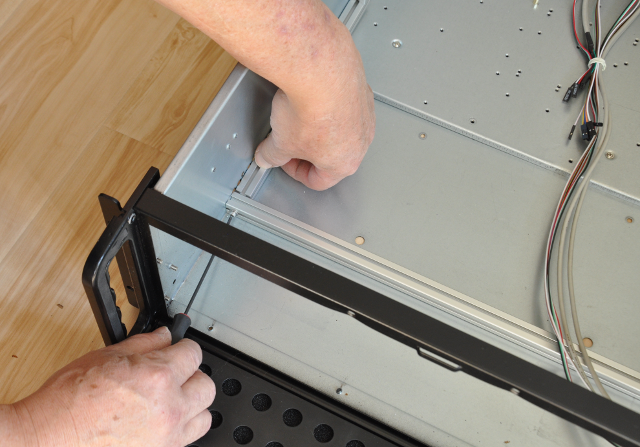
Secure the fan sub-assembly to the base by inserting a hex nut into the top slot of the side beams (via the milled-out area), pushing the nut underneath the large angle bracket and attaching it using a M3x5mm bolt.
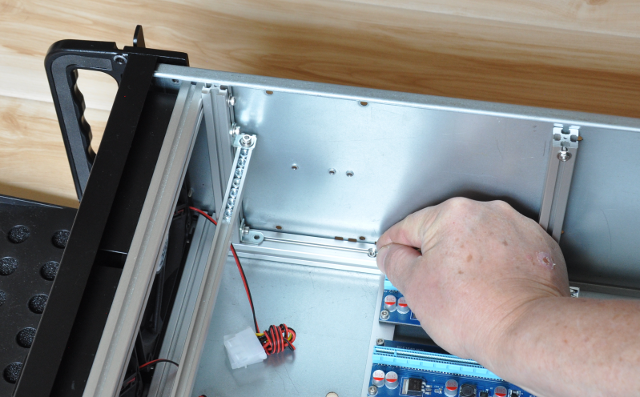

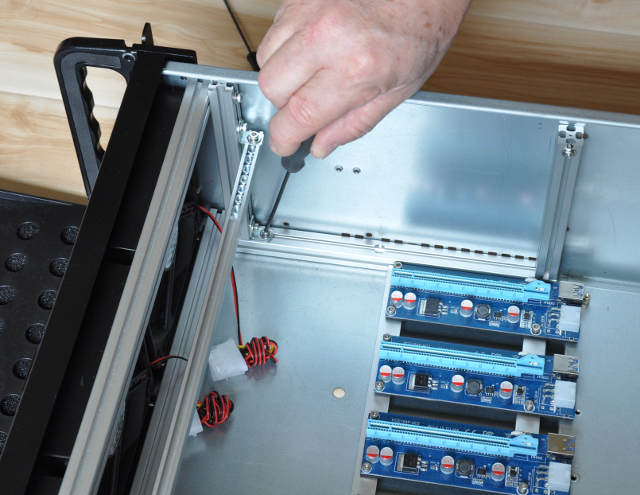
Repeat for the right-hand side angle bracket.