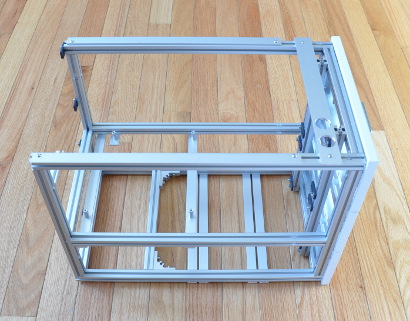
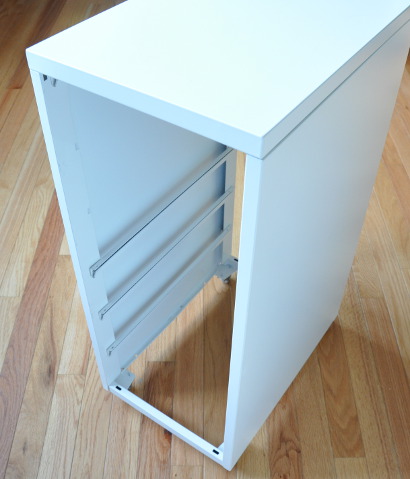
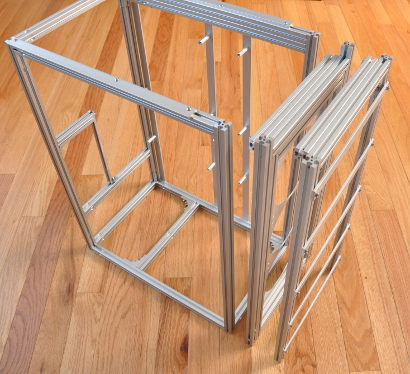
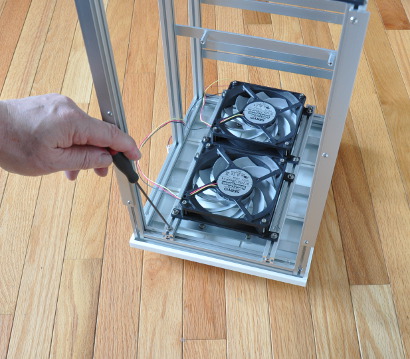
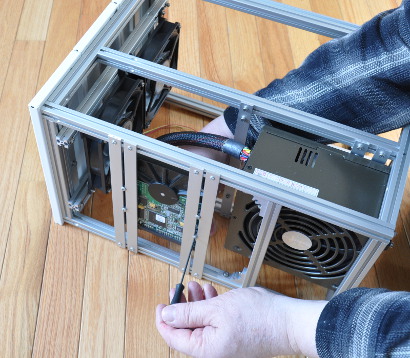
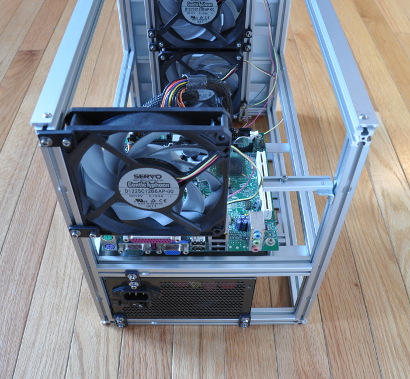
Remove the back of the Helmer cabinet, along with any intermediate drawer support rails (twist the rail into the cabinet, while pulling up).
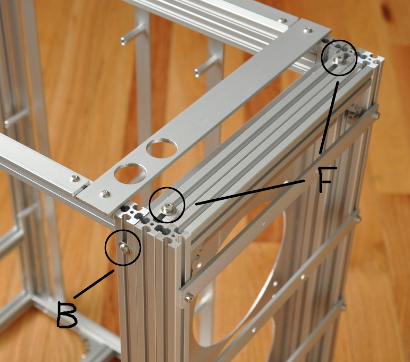
For case models with a front air duct, the duct is comprised of two halves. The front half can be detached by unfastening the two bolts at position “F“, and the back half via two bolts at “B“:
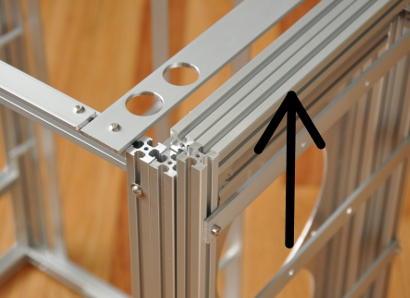
After removing the bolts, each half is separated from the other/case by sliding it upward.
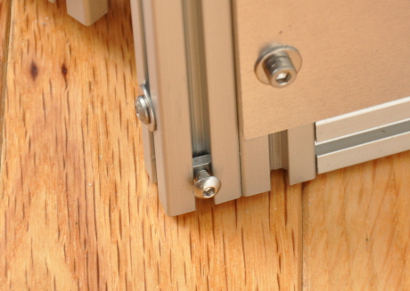
Note: the bottom of each half attaches via two button-head “posts” (which slide into two milled holes):
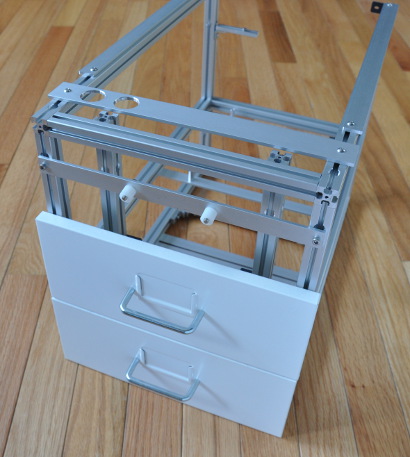
The drawer fronts are attached to the front half of the air duct and any cooling fans/radiators to the back half.
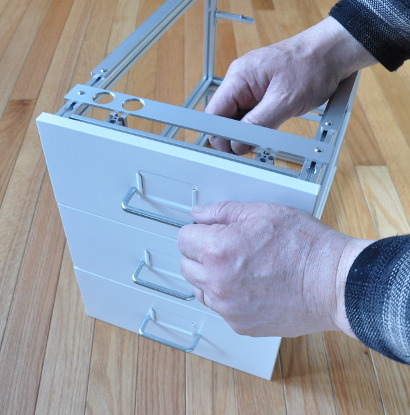
Attach the drawer fronts to the case via M4 bolts and spacers.
Place the threaded ends of the handle over the two bolts and tighten.
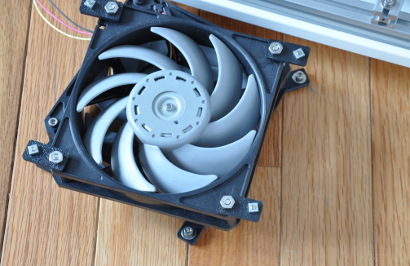
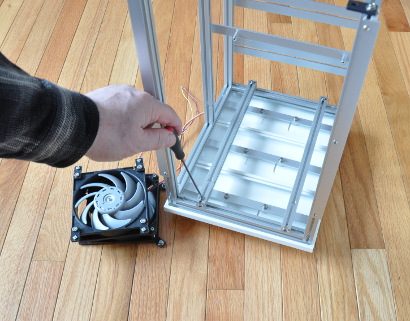
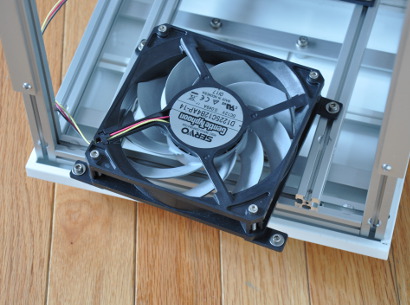
Attach the fan mounting tabs to the two front fans via 1-1/4-inch long #6-32 bolts. And loosely attach M3x8 bolts with square nuts to the tabs.
Remove the top-most bolts from the two fan support posts.
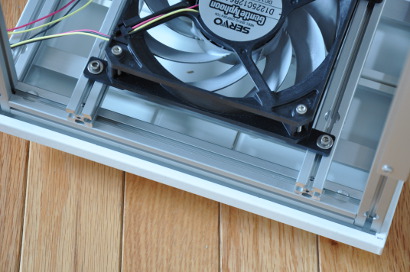
Attach the fans to the posts by inserting the four square nuts in the slots of the support posts, slide into position, and tighten the four M3 bolts.
Re-attach the two fan support post bolts.
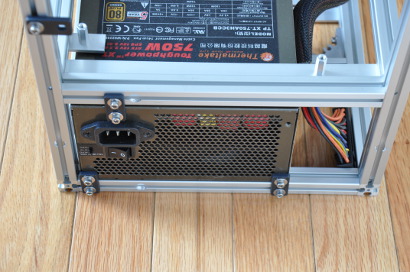
Attach the PSU to the bottom of the case via three plastic tabs. The tabs are bolts to the PSU via #6-32 5/16-inch bolts and washers, and to the case via M3x8 bolts and washers.
Attach the HDD/SD to the bottom of the case via #6-32 button head bolts and washers (or M3 bolts for SSD).
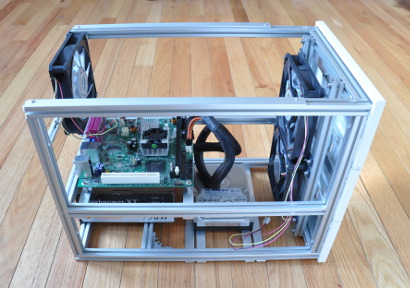
Bolt the motherboard to the standoffs via M3 bolts.

