

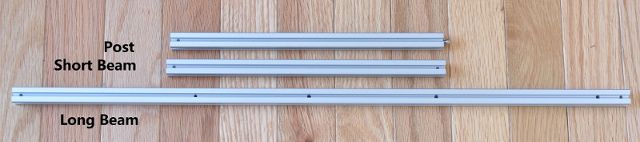
Part identification
Assembly
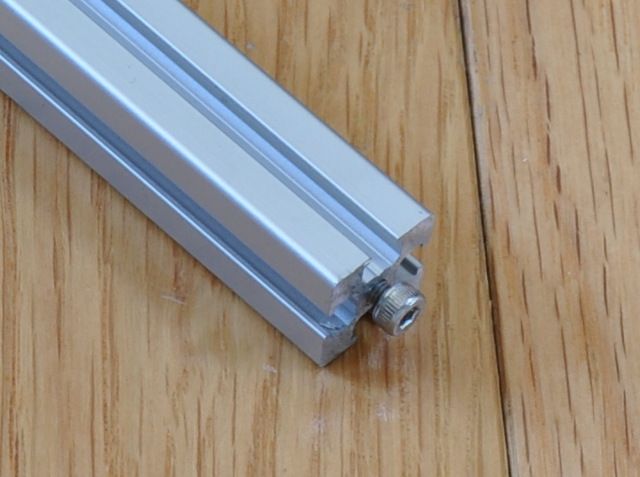
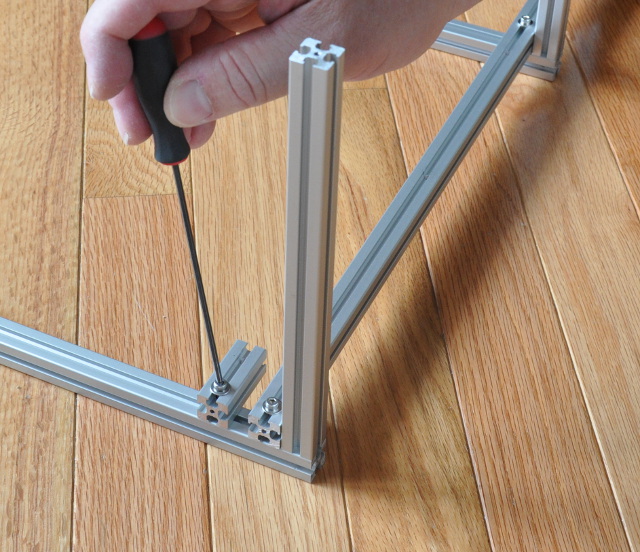
Thread M3x6 bolts into the bottoms of the posts.

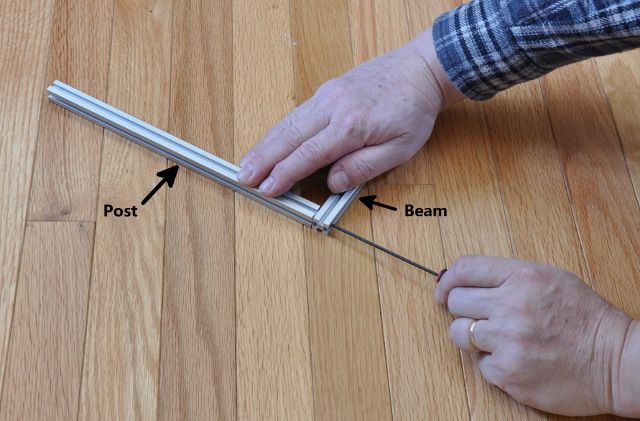
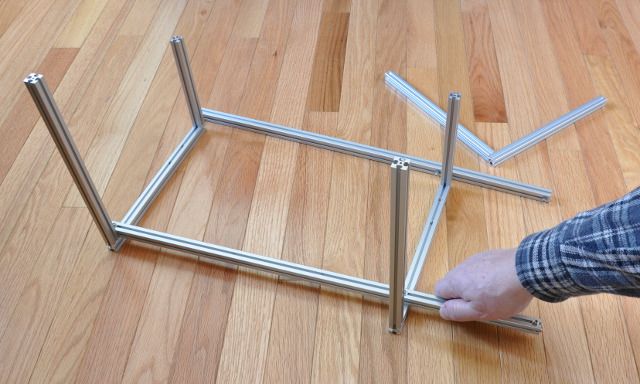
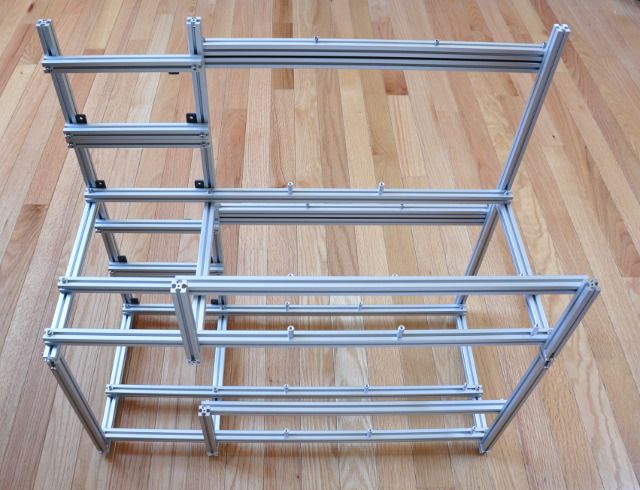
Attach one tall/back post to each of the short beams, by sliding the head of the bolt into the top groove of the beam. Note how the bolt is tightened by inserting the wrench through the wrench access hole.
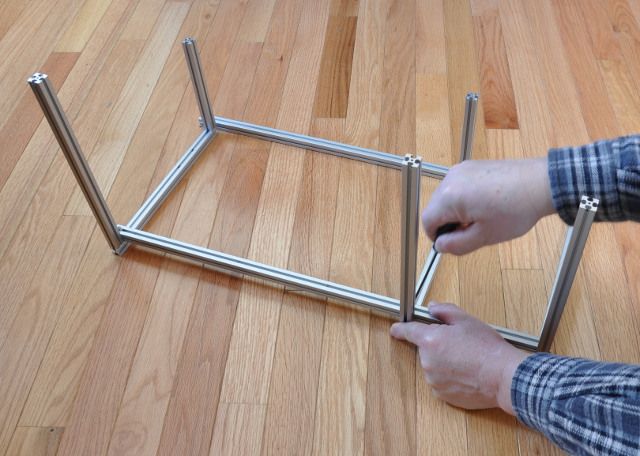
Insert 4 hex M3 nuts into the top grooves of the right-hand short beam (the “right-hand” side of the tray is the furthest from where the PSUs are mounted) and 3 hex M3 nuts into the top grooves of the middle and left-hand short beams.

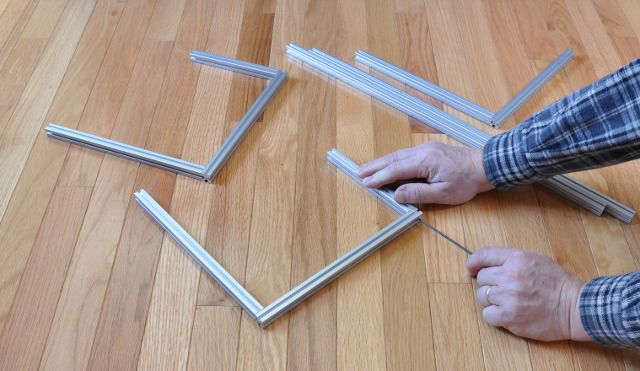
Attach the other posts to the beams.
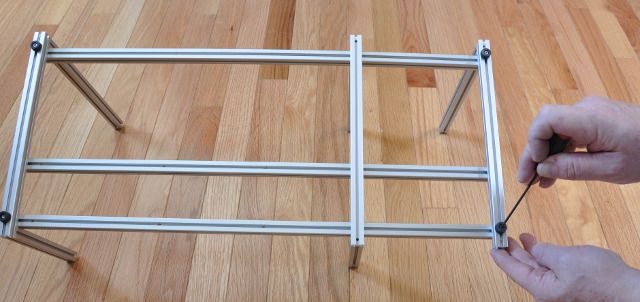
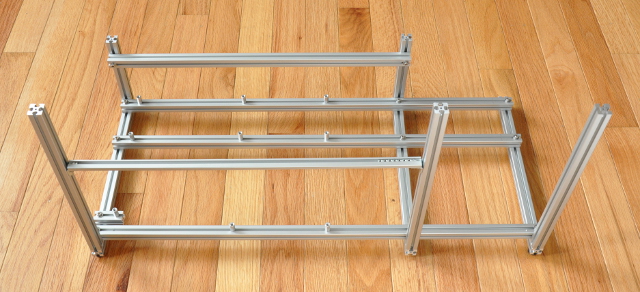
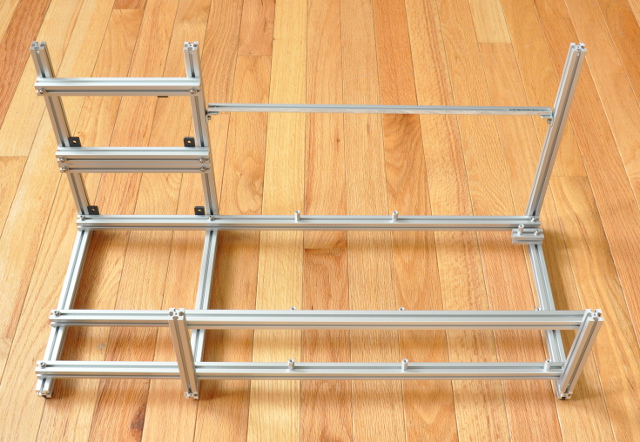
Note that a bottom tray will have 5 tall and 1 short post. While a top tray will have 3 tall and 2 short posts (see pics below).
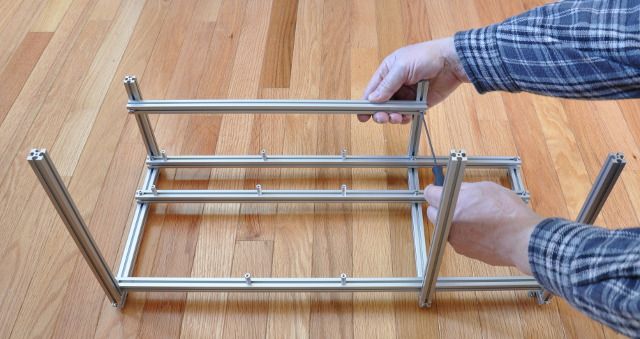
Using M3x20mm bolts (and a washer) attach the back long beam to the beam & post sub-assemblies (via the hex nuts inserted above). Note: Attach the long beams with the holes for the standoffs visible from the top) and press the beam against the back posts.
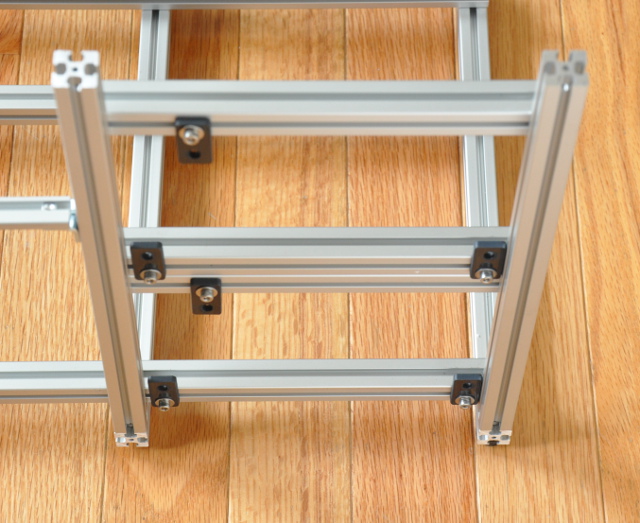
Attach the remaining 2 beams.
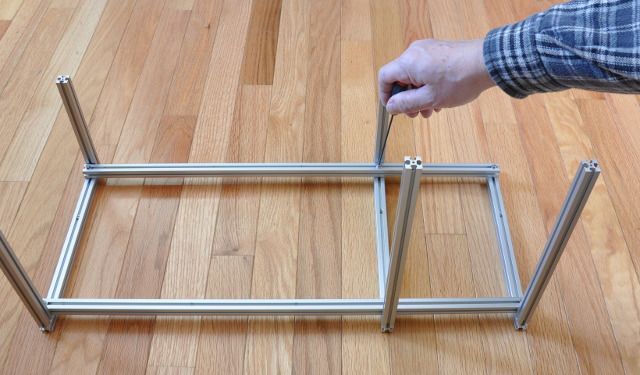
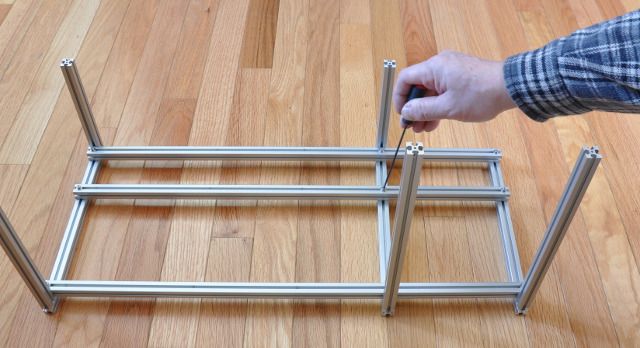
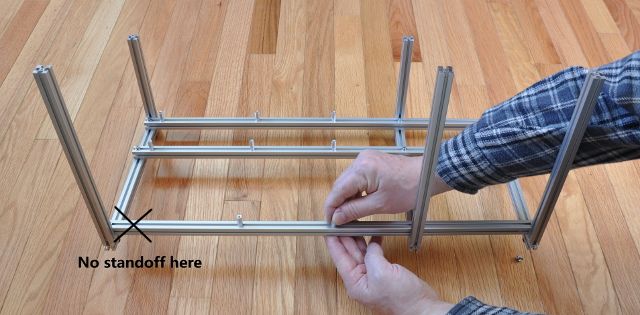
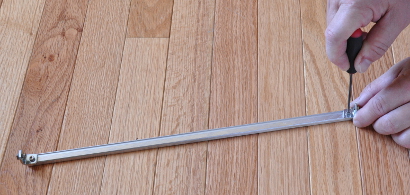
Attach the smallest beam.
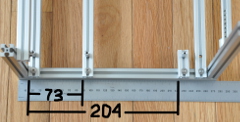
The spacing of the long support beams is 73mm and ~204/205mm:
Using M3x6 bolts and M3 square nuts, attach the 4 small rubber bumpers (feet) to the bottom of the tray.
Using M3x20m bolts, loosely attach the 9 motherboard spacers to the tray (tighten after attaching the motherboard)
Using 2x M3x20mm bolts, washers and square nuts, attach the front GPU support beam to the front posts.
Slide a M3 square nut into the expansion card support beam, aligning it with the thru-hole.

Carefully flip the beam over and with a M3x6 bolt attach the small 90-degree angle bracket to the beam.

Insert 13x M3 square nuts into the support beam.

Align the last/13th nut with the thru-hole and attach the second 90-degree angle bracket.
Attach the support beam to the inside slots of the posts.
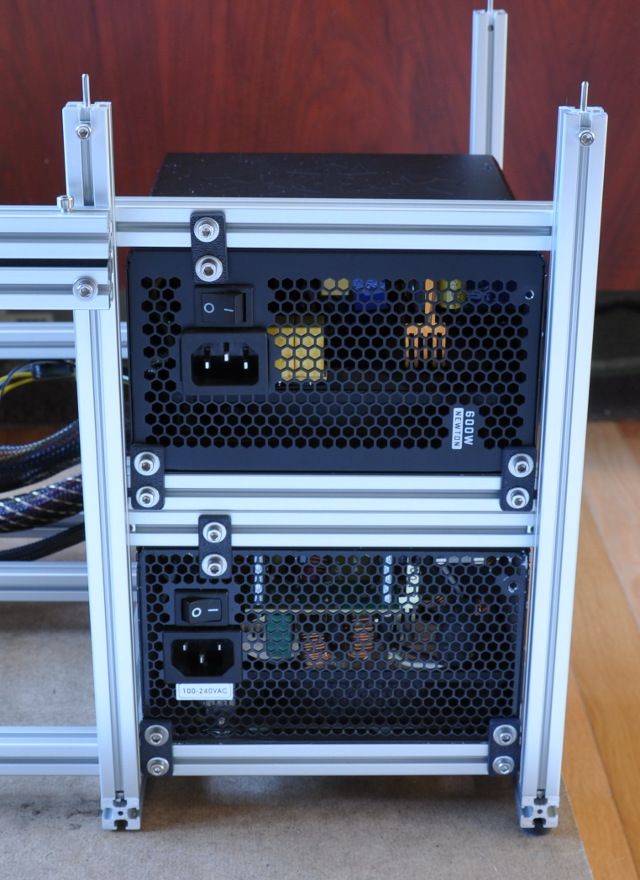
Using M3x8 bolts, washers and square nuts, attach the 6 plastic PSU tabs to the 3 short PSU support beams. The PSU support beams are attached to the tray with M3x20mm bolts, washers and square nuts.

The PSUs are attached using #6-32 5/16-inch long bolts and washers.
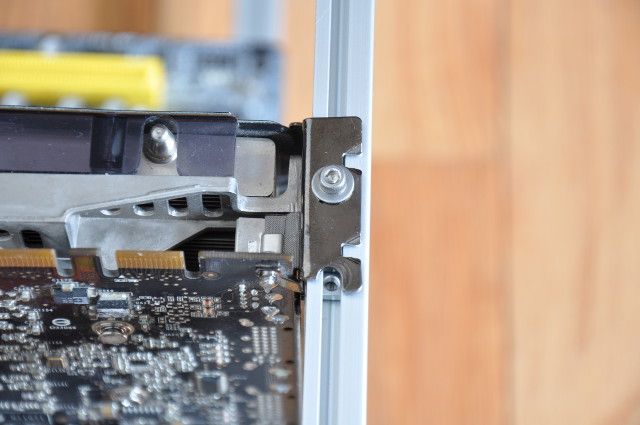
GPUs are attached to the tray via M3x5 bolts. .
Done!
Optional HD/SSD beams
The optional HD/SSD beams are attached to the tray with M3x8mm bolts, washers and square nuts.

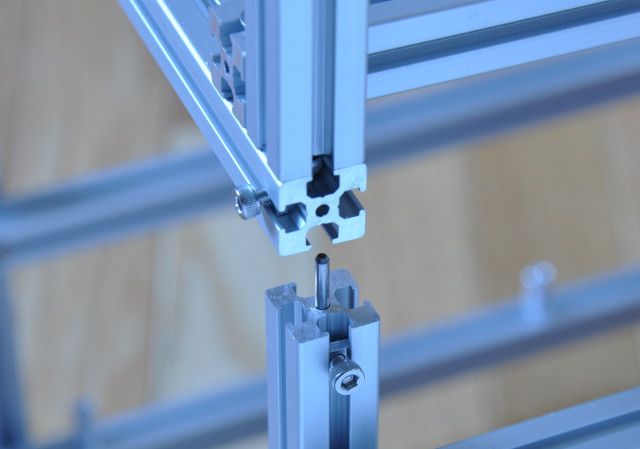
Stacking Connectors
Stacking connectors (threaded dowels) are threaded into the tops of the bottom tray’s posts. The top tray is attached to the dowels with M3x8mm bolts and square nuts. Note how the bolt goes through the access hole on the side of the beam, pressing against the threaded dowel.
Deep Mining Tray
Note that the two posts that support the GPU beam are attached to the side of a motherboard support beam (via M3x20mm bolts, washers and square nuts).
