Flip the station over and attach the small rubber feet with 4x M3x6mm bolts.
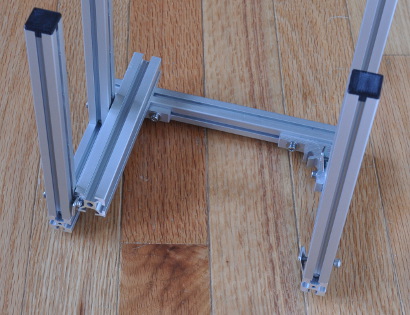
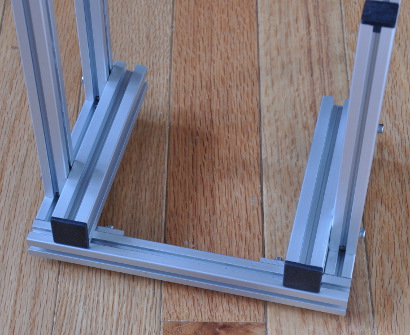
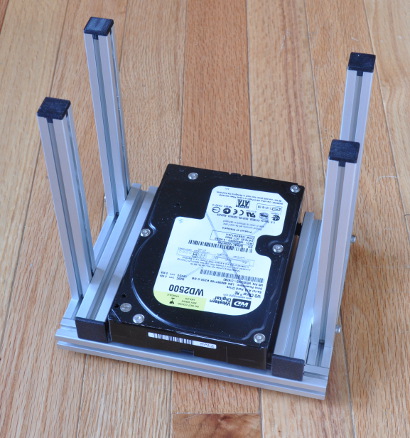
Attach small rubber feet to the bottom of the drive cage with M3x6 bolts and square nuts.

Push end caps onto the tops of the drive cage posts.
Optionally, re-assemble the drive cage to mount 3.5-inch hard drives.
Attach the drive cage to the station (at the desired location) with M3 square nuts, M3x20mm bolts and washers.
For SSDs, the beams and posts should be re-assembled in this configuration:
Note: Square nuts are inserted into the slotted aluminum via the milled-out areas.
Slide a M3 square nut into the expansion card support beam, aligning it with the thru-hole.
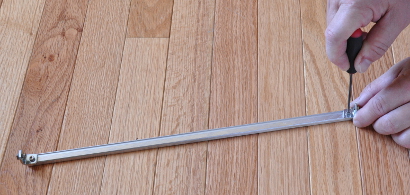
Carefully flip the beam over and with a M3x6 bolt attach the small 90-degree angle bracket to the beam.
Insert 9x M3 square nuts into the support beam.
Align the last/9th nut with the thru-hole and attach the second 90-degree angle bracket.
Attach the posts to the support beam with M3 square nuts and M3x6 bolts.
Drop two M3 square nuts into the milled-out areas on the top of the station.
With a M3x10 bolt and washer loosely attach two large angle brackets to the top of the station.
Slide the expansion card support posts onto both the square nuts (with the milled surface of the expansion card support beam facing toward the inside of the case).
Fix/adjust any mis-alignment and tighten the expansion card supports.
Loosely attach the standoffs using M3x20 bolts (fully tighten the standoffs after the motherboard is attached).
Optionally, insert M3 threaded rods into the standoffs.
Attach the black plastic PSU mounting tabs to the station with M3 square nuts, M3x8 bolt and washer.
Note: the PSU can be mounted either vertically or horizontally.
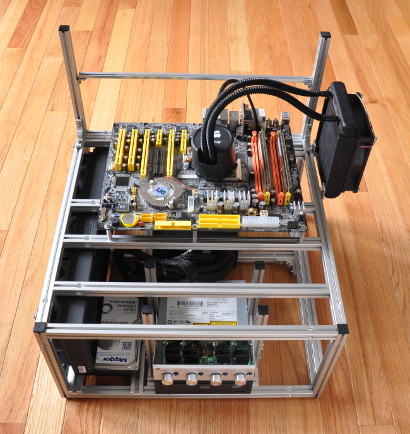
The PSU is attached with #6-32 5/16-inch bolts and washers.
The motherboard is attached with M3x6 bolts.
Expansion cards are attached to the nuts in the support beam with an M3 washer and small M3x5 bolts.
HD/SSd drives are attached to the wide t-slot extrusions with rubber grommets.
A 5.25-inch drive can be bolted to the station via small angle brackets.
5.25-inch devices are attached to the drive cage with M3x18mm bolts
3.-5-inch drives are attached to the drive cage the #6-32 3/4-inch bolts.
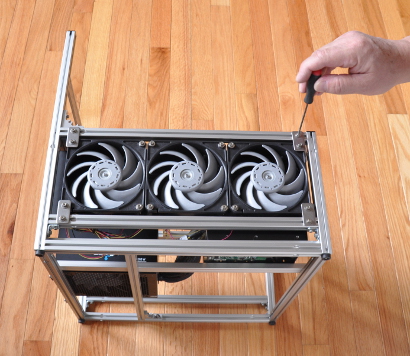
Radiators and fans are attached via stainless steel tabs, M3 washers, square nuts and M3x6 bolts.
Pumps can be mounted to the “universal” mounting platform by removing and/or adjusting the spacing of the flat bars.
The mounting platform is attached to the station with M3 washers, nuts and M3x20 bolts.
The extra extrusions and angle brackets can be used to attach a water cooling reservoir.
The optional switch plate is attached via M3x6 bolts.
The two hard drive adapter rails are attached to the drive cage with 4x M3x20mm bolts and 4x large t-nuts.
End caps are pressed into the fronts of the rails.
Rubber grommets are attached to the sides of the drive with 4x #6-32 button head bolts, which are then slid into slots in the inside of the rails.


