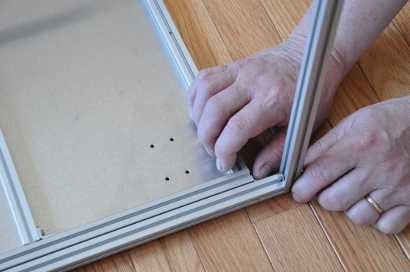
Attach the back frame to the bottom by sliding the two attached M3x20mm bolts and M3 square nuts into the slotted extrusion.
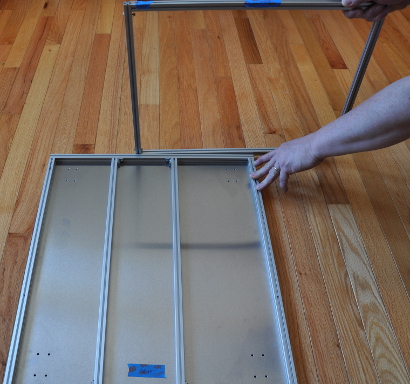
Tighten the two bolts.
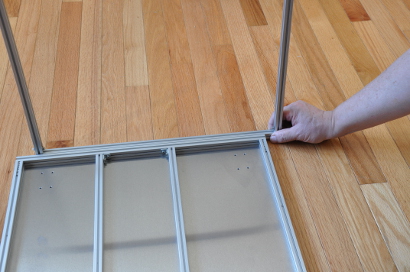
Attach the front frame to the bottom and tighten the two bolts.
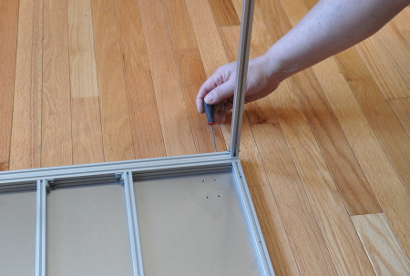
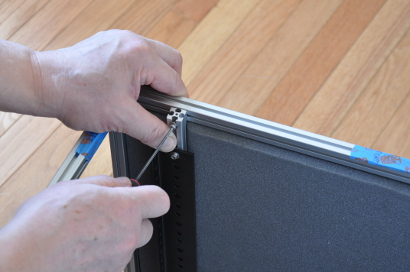
Flip the cabinet frame onto its right side. Attach the left side panel by inserting the M3 square nuts into the slots of the side panel (note the orientation of the hinge pins).
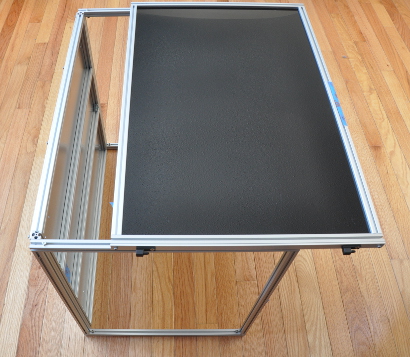
Tighten the four bolts via the inside of the cabinet.
Flip the cabinet onto the left side and attach the right side panel.
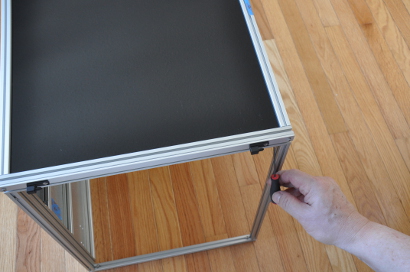
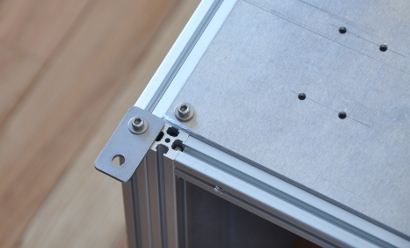
Flip the cabinet onto the top and attach two door support tabs with an M3x6 bolts and washer.
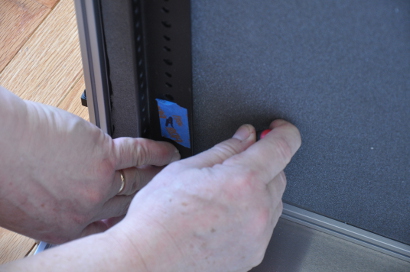
Slide a square nut to the front of the cabinet in order to attach a server post sub-assembly to the bottom of of the cabinet.
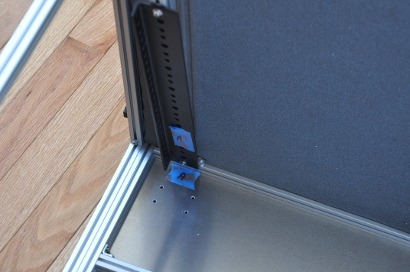
In order to do so, the post will need to be compressed into the sound absorbing foam.
Slide a square nut along the top of the cabinet, aligning it with the post. Attach the top of the post with an M3x20 bolt and washer.
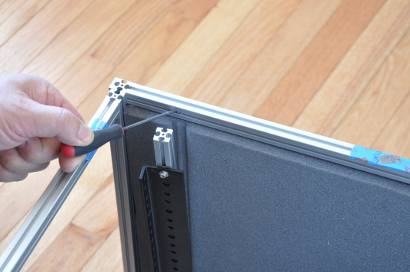
Attach the three remaining post sub-assemblies.
Attach the four casters to the bottom of the cabinet via four bolts, washers and nuts.
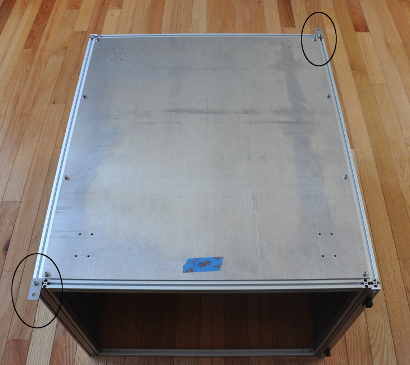
Attach the top to the cabinet via four M3x20 bolts and washers inserted up through the cabinet frame.
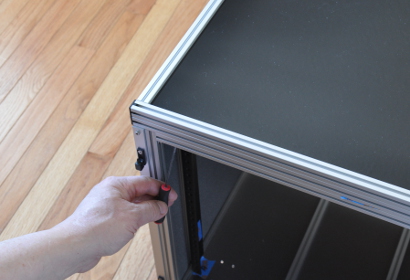
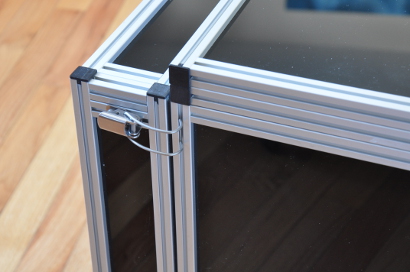
Attach the front and back doors by “hanging” the hinge socket onto the hinge “pins.”
The door latches grab the cabinet via the slotted extrusion.